


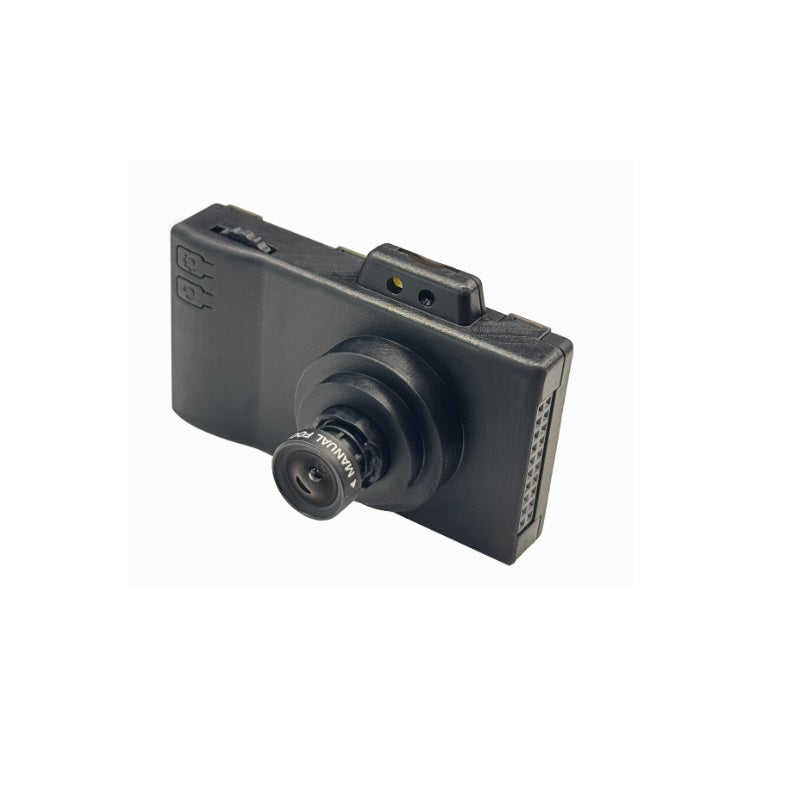
Description
ESP32-P4X-EYE is a vision development board based on the ESP32-P4 chip, mainly targeting camera applications. ESP32-P4 features a dual-core RISC-V processor and supports up to 32 MB of PSRAM. In addition, ESP32-P4 supports USB 2.0 standard, MIPI-CSI/DSI, H264 Encoder, and various other peripherals. With all of its outstanding features, the board is an ideal choice for developing low-cost, high-performance, low-power network-connected audio and video products.
The board integrates the ESP32-C6-MINI-1U module for Wi-Fi and Bluetooth communication. It supports MIPI-CSI camera interface and USB 2.0 High-Speed device mode. Rich onboard features include a camera, display, microphone, and MicroSD card, enabling real-time monitoring of the environment and collection of image and audio data. It is suitable for applications such as smart surveillance cameras, vision model detection, and edge computing in IoT that require real-time image processing and wireless communication.
Most of the I/O pins are broken out to the pin header for easy interfacing. Developers can connect peripherals with jumper wires.


The key components of the top PCB are described in a clockwise direction. To facilitate use, these components or interfaces are also marked on the ESP32-P4X-EYE enclosure.


The key components of the back PCB are described in a clockwise direction. To facilitate use, these components or interfaces are also marked on the ESP32-P4X-EYE enclosure.

Functional Block
